With summer time comes also more free time for creating unique jewelry. Creating clay roses is not easy, but with a little bit of practice, patience and with good instructions it can become fun, not to mention the beautiful results.
I decided to share with you my way of making polymer clay roses, so you will be able to get through a stormy summer afternoon with something to do. 😉
Let the fun begin:
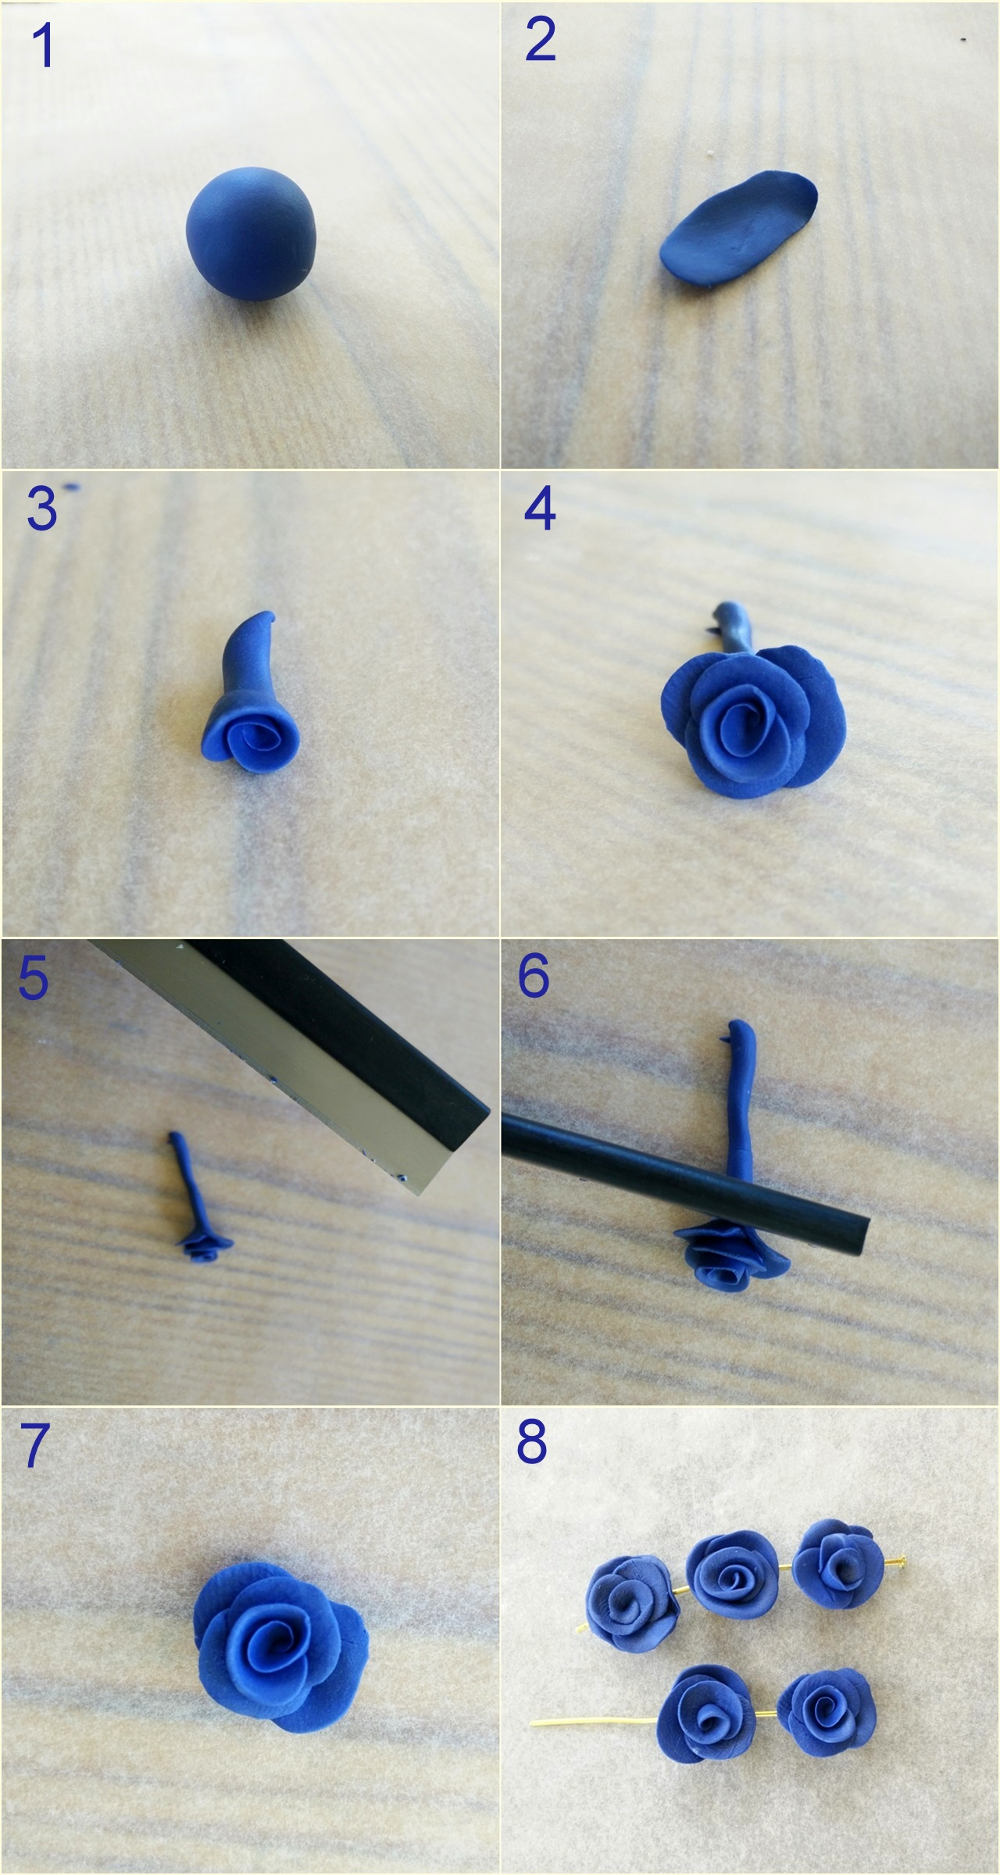
1 – First you need your favorite FIMO or other polymer clay colour for making your jewlery. It comes out even prettier if you mix it with white colour, which becomes clear when you bake it. For a bright shine you can also coat it with some lacquer later. If you like the matte effect or full colors, do it without the white colour. Keep in mind that every colour gets a shade darker when baking, so choose a little brighter shade.
2 – Knead your clay into a little ball, then roll it out as thinly as possible (see picture).
3 – Roll it up, as you can see on the photo. This is the stem and the inner part of the rose.
4 – Roll a few more sheets around the stem. Press every petal gently onto it. It has to stick, so in the end squeeze it lightly.
5 and 6 – When you’re satisfied with the size and shape of the flower, cut off the stem.
7 – Check if the rose looks good on a flat surface.
8 – If you want to string up the flowers, you have to make holes before baking! I use a thin wire and bake everything together.
If you were creating out of FIMO, bake 30 minutes on 110°C. When you take them out, let them cool down – that’s when they harden up. When they cool off you can coat them with lacquer.
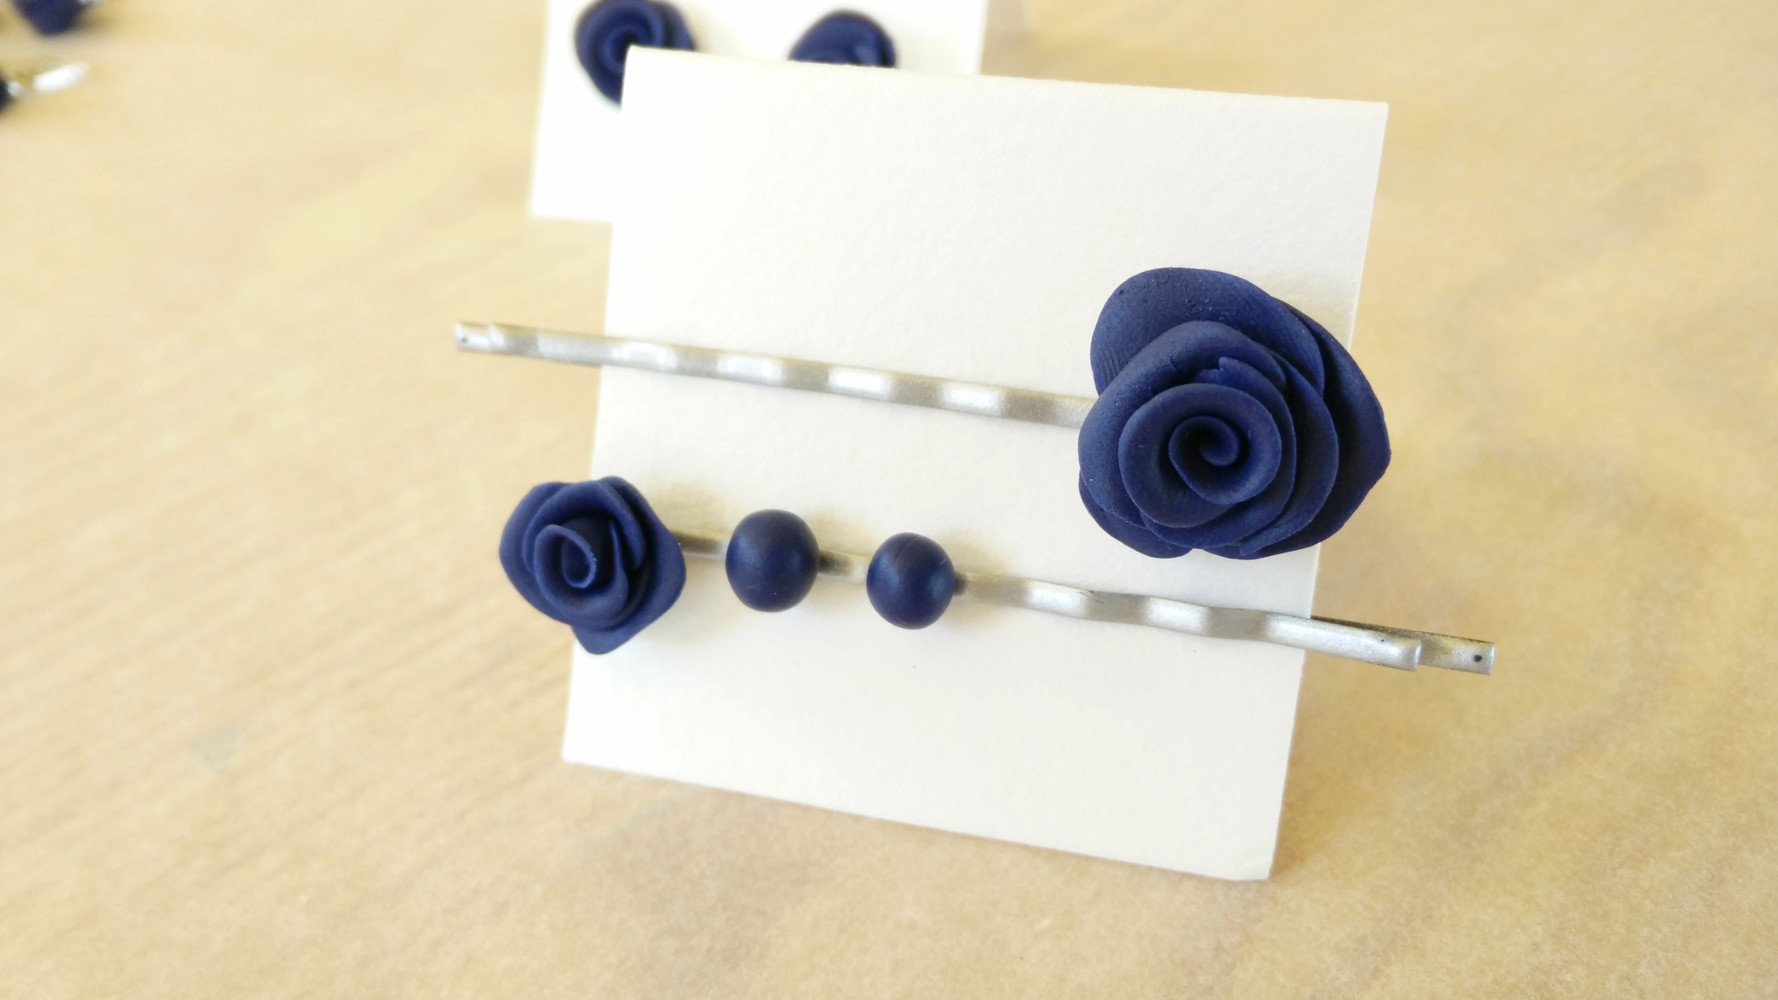
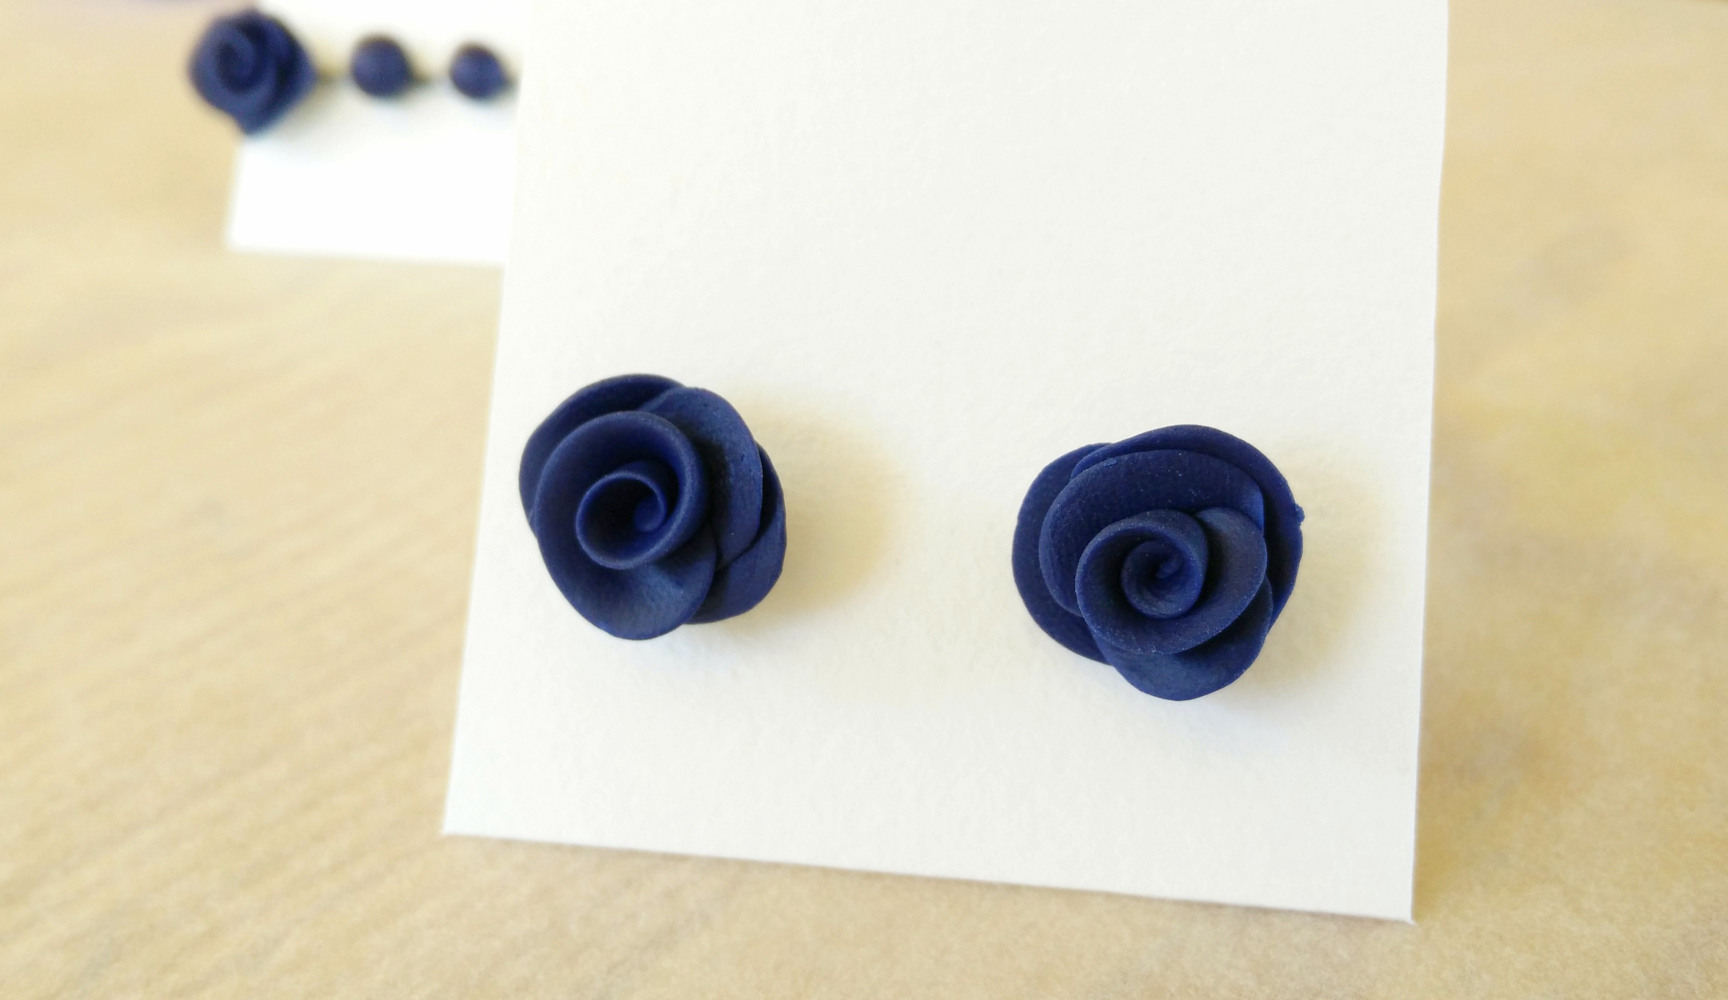
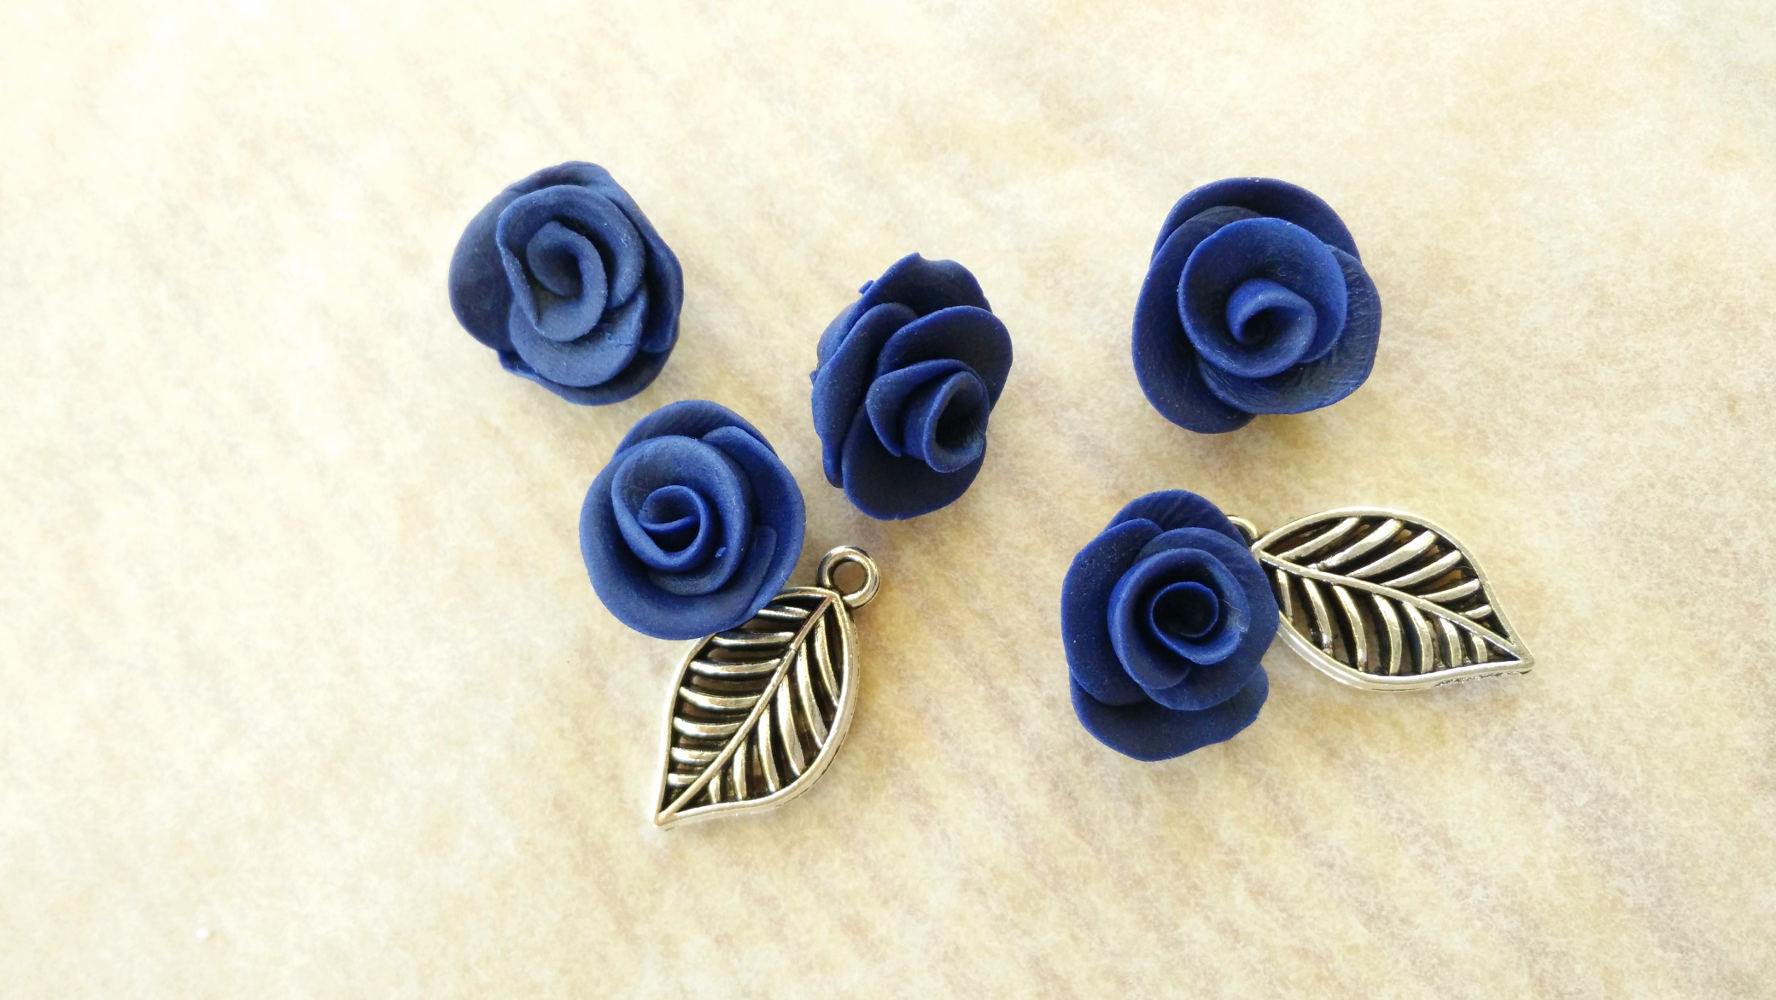
When everything is ready to create the final piece use various chains, wires, strings, earring bands and hooks, … things you can buy at a hobby shop. Today I’ve created some hair pins and earrings, and the leftover ones I’ll use for a wrist piece. You can find more ideas like this HERE.
I wish you a happy start of summer! 🙂
♥


